How to Disassemble a Bed Frame in 9 Easy Steps
Disassembling a bed frame can seem like a daunting task, but with the right approach, it’s a straightforward process. Whether you’re moving to a new home, upgrading your bed, or simply need to store it away, breaking down your bed frame properly is essential. In this guide, we’ll walk you through each step in detail. So, let’s get started on how to disassemble a bed frame!
1. Gather Your Tools and Materials

Before starting into the disassembly process, it’s crucial to gather all the necessary tools and materials. This will save you time and make the entire process smoother.
First, you’ll need a few basic tools. A screwdriver (both flat-head and Phillips), an adjustable wrench, and possibly a pair of pliers are essential. Some bed frames might require an Allen wrench or hex key, so it’s good to have a set on hand. Additionally, keep some plastic bags or small containers to store screws and bolts, and consider using a marker or labels to keep track of where each piece belongs.
Having these tools ready ensures you won’t need to stop midway to search for something. It also helps to have a friend or family member assist you, as some parts of the bed frame can be heavy or cumbersome.
2. Clear the Area
Start by creating a clean and spacious working area. Remove any clutter around the bed to ensure you have enough space to move around and lay out the bed components.
Place a soft blanket or a large piece of cardboard on the floor. This will help protect your flooring and the bed frame pieces from scratches. It also makes it easier to keep track of all the small parts you’ll be removing.
3. Remove Bedding and Mattress
Next, strip the bed of all its bedding. Remove the sheets, blankets, pillows, and any other items on the bed. This will give you clear access to the mattress and the frame.
Carefully lift the mattress off the bed frame. Depending on the size and type of mattress, you might need an extra pair of hands to help you move it safely. Set the mattress aside in a safe place where it won’t get dirty or damaged.
4. Take Off the Headboard and Footboard

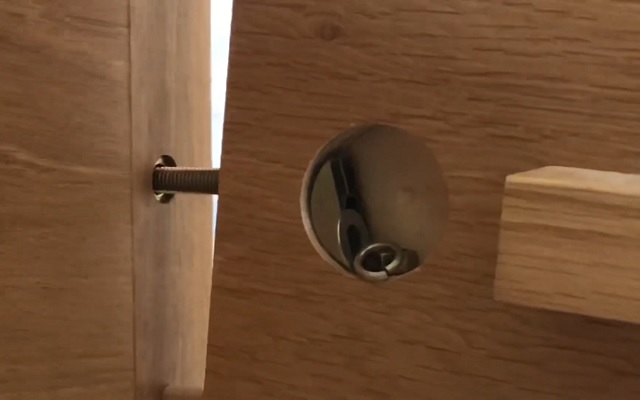
With the mattress removed, you can now focus on disassembling the frame itself. Start with the headboard and footboard. These are usually attached to the side rails with screws or bolts.
Using the appropriate tool (usually a screwdriver or wrench), remove these fasteners. Keep all screws, nuts, and bolts in a labeled bag or container so they don’t get lost. If the headboard and footboard are large or heavy, having someone help you hold them steady while you unscrew the fasteners can prevent accidents.
5. Detach the Side Rails
After removing the headboard and footboard, the next step is to detach the side rails. Bed frames typically use metal brackets, screws, or a hook-and-pin system to secure the rails.
Identify the connection type and use the appropriate tool to carefully remove any fasteners. If the rails are connected with a hook-and-pin system, you might need to lift and slide them out gently. As always, keep all small parts in your labeled containers.
Also Read: How to Fix a Squeaky Box Spring
6. Disassemble the Central Support
Many bed frames, especially larger ones like queen or king sizes, have a central support bar or legs. These provide additional stability and support for the mattress.
Locate any screws or bolts securing the central support to the frame. Using your screwdriver or wrench, remove these fasteners. If your bed frame has a metal support bar, it might be attached with clips or hooks that require a bit of maneuvering to detach.
7. Handle Storage Drawers (If Applicable)
Some bed frames come with built-in storage drawers. If your bed frame includes drawers, you’ll need to remove these before fully disassembling the frame.
Pull each drawer out and look for any screws or fasteners holding them in place. Use your tools to remove these, then gently slide the drawers out. If the drawers are part of a larger unit, you might need to disassemble the unit itself to separate it from the main frame.
8. Disassemble Bed Slats or Platform Base

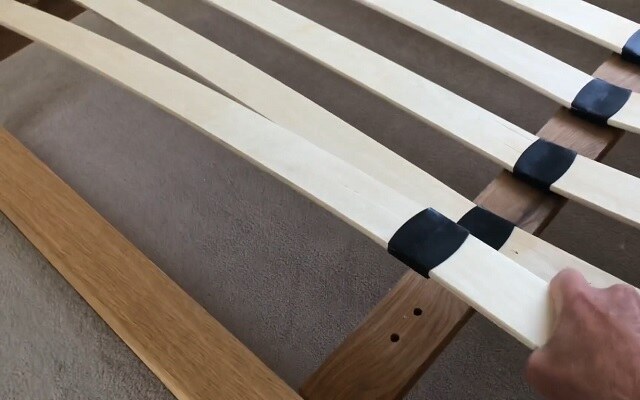
If your bed frame has slats or a platform base, this is the next component to tackle. The slats are usually laid across the bed frame to support the mattress. They might be individual slats or connected in a roll.
Start by lifting each slat out of its slot. If the slats are connected, roll them up carefully. For platform bases, check if they are screwed or bolted to the frame. Use your screwdriver or wrench to remove any fasteners, and set the slats or platform pieces aside. Be sure to keep any screws or brackets in your labeled containers.
9. Remove Additional Features
Some bed frames come with additional features like attached nightstands, canopy structures, or built-in lighting. These need to be removed before you can completely disassemble the frame.
Identify how these features are attached to the bed frame. They might be screwed in, bolted, or even clipped. Use the appropriate tools to detach them carefully. As always, keep all small parts organized and labeled. If the additional features are large or heavy, enlist help to prevent damage or injury.
Watch Full video on Youtube
10. Organize and Label Components
Organization is key when disassembling a bed frame. As you remove each component, take the time to label it and its corresponding fasteners. This will make reassembly much easier and prevent any confusion.
Use plastic bags or small containers for screws, bolts, and other small parts. Label these containers with a marker. For larger pieces, use masking tape and a marker to note where each piece belongs. This simple step can save you a lot of hassle later on.

