5 Easy DIY Steps on How to Fix a Broken Bed Rail
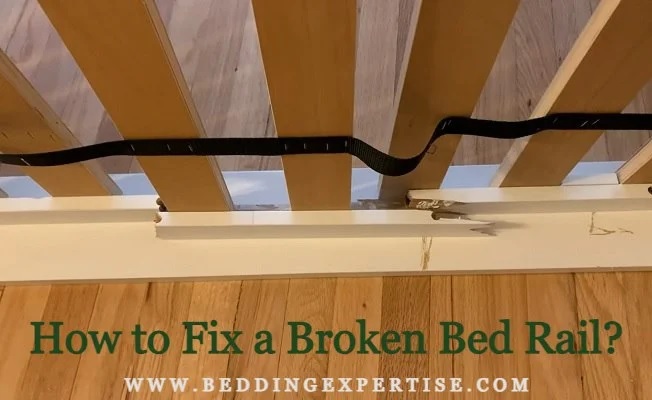
Understanding how to fix a broken bed rail is crucial for maintaining the integrity of your bed. Not only does it save you money on replacements, but it also ensures a safe sleeping environment. In this comprehensive guide, we will walk you through each step of the process, providing expert advice and detailed instructions.
Before we dive into the steps, it’s essential to recognize the common causes of bed rail damage. Often, bed rails break due to excessive weight, improper assembly, or the natural degradation of materials over time. By identifying these causes, you can take preventive measures to avoid future issues.
Table of Contents
Toggle1. Tools and Materials Needed
Before you begin repairing your broken bed rail, it’s essential to gather all the necessary tools and materials. Having everything on hand will make the process smoother and more efficient. Here’s a comprehensive list of what you’ll need:
Essential Tools
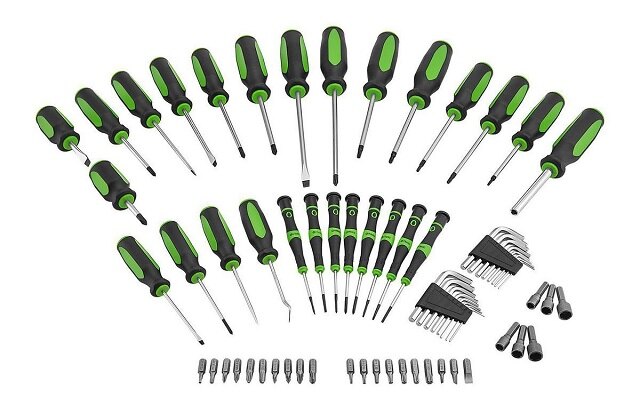
- Screwdriver: A basic tool for removing and securing screws. Ensure you have both a flathead and a Phillips screwdriver to accommodate different screw types.
- Drill: Useful for creating pilot holes and securing screws more effectively. A cordless drill with various drill bit sizes will be particularly handy.
- Saw: Depending on the type of bed rail, you might need a handsaw or a circular saw to cut replacement wood to size.
- Clamps: Essential for holding pieces of wood together while the glue sets. Ensure you have clamps that can accommodate the width of your bed rail.
- Measuring Tape: For accurate measurements of the broken rail and the replacement wood.
- Sandpaper: To smooth out rough edges on the replacement wood. Medium-grit sandpaper is generally suitable for this task.
- Wood Glue: A strong adhesive to bond the new rail piece to the bed frame. Opt for high-quality wood glue for durability.
- Safety Goggles and Gloves: Protect your eyes from sawdust and your hands from splinters and sharp tools.
Essential Materials
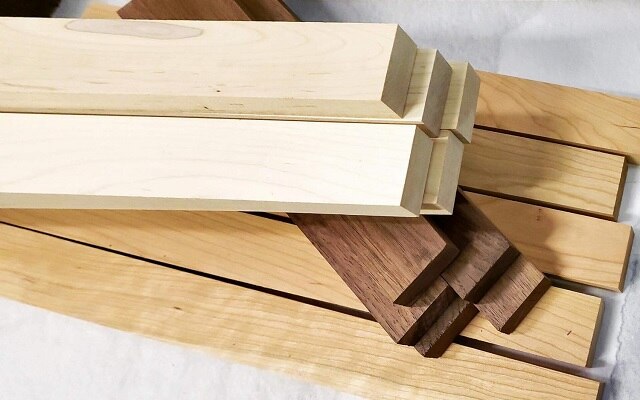
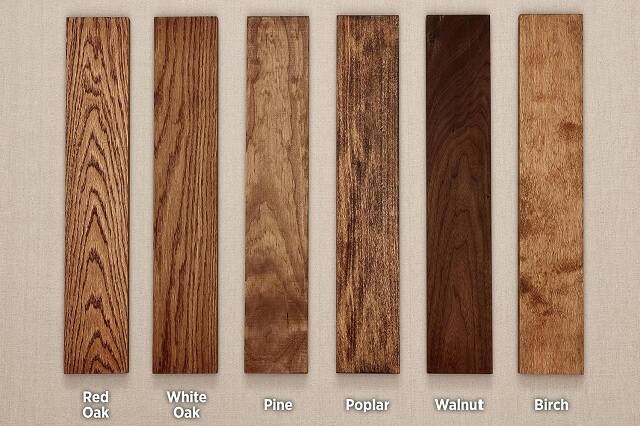
- Replacement Wood: Choose a sturdy wood that matches the dimensions of the broken rail. Pine or oak are commonly used due to their durability.
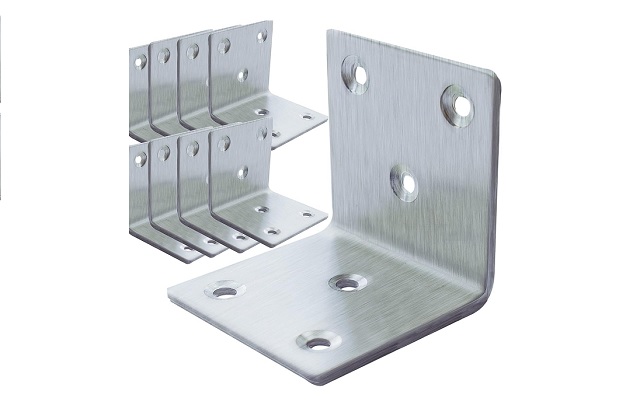
- Metal Brackets: These provide additional support and reinforcement for the repaired rail. Make sure they are the correct size for your bed frame.
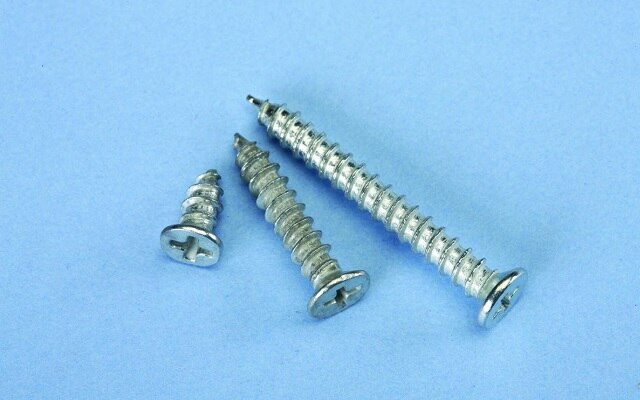
- Wood Screws: Ensure you have the right length and type of screws for securing the wood. Self-tapping wood screws are often the best choice.
- Wood Finish: If the bed rail is visible, a wood finish will help blend the new piece with the existing frame. Choose a finish that matches your bed frame’s color and texture.
Recommended Products
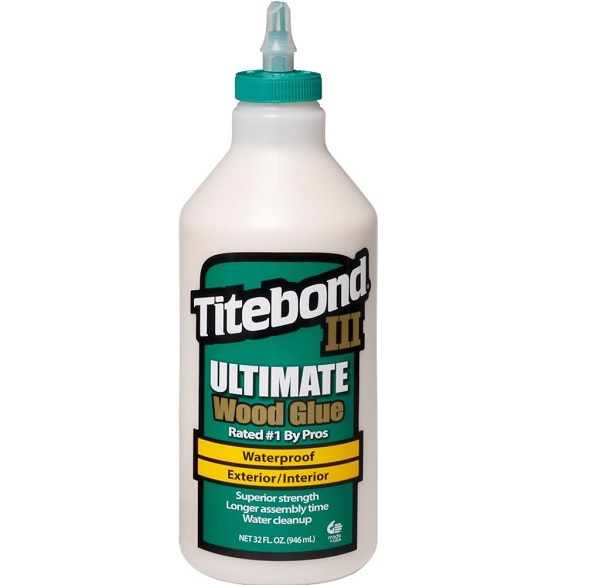
- Wood Glue: Titebond III Ultimate Wood Glue – known for its strong bond and durability.
- Clamps: Irwin Quick-Grip Clamps – versatile and easy to use.
- Drill: DEWALT 20V Max Cordless Drill – powerful and reliable for various DIY projects.
Images and Links
To further assist you, here are some high-quality images and links to recommended products and you can buy these products by click on the name of each item link:
- Cordless Drill:
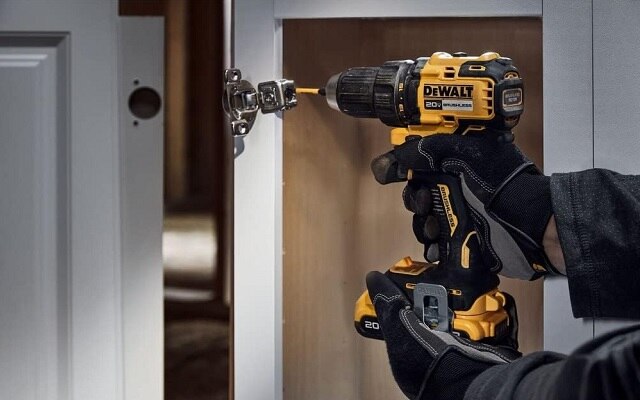
DEWALT 20V Max Cordless Drill - Handsaw:
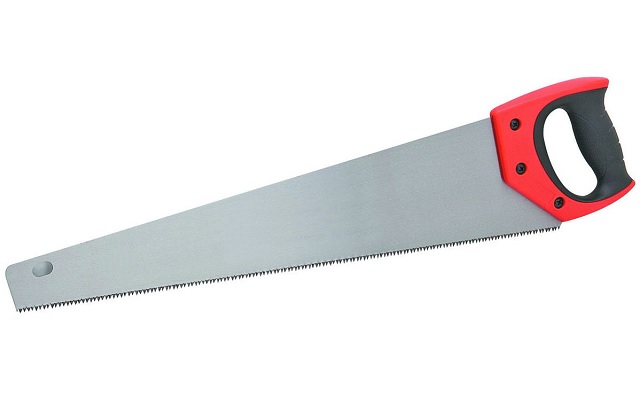
Having these tools and materials ready will ensure you are well-prepared to tackle the repair job. In the next section, we will discuss crucial safety precautions to follow before starting the repair.
2. Safety Precautions
Before you begin the repair process, it’s crucial to prioritize safety. Working with tools and materials can pose risks if proper precautions are not taken. By following these safety tips, you can ensure a safer and more efficient repair process.
Personal Protective Equipment (PPE)
- Safety Goggles: Protect your eyes from sawdust, wood chips, and debris. Ensure they fit snugly and provide clear vision.
- Gloves: Wear durable work gloves to protect your hands from splinters, sharp tools, and potential injuries.
- Dust Mask: If you’re sanding or cutting wood, a dust mask will protect you from inhaling fine particles.
Preparing Your Workspace
- Clear the Area: Ensure your workspace is clean and free of clutter. Remove any items that might obstruct your movement or cause tripping hazards.
- Ventilation: Work in a well-ventilated area, especially if you’re using wood glue or finishes that emit fumes. Open windows or use fans to circulate air.
- Lighting: Adequate lighting is essential for precision and safety. Ensure your workspace is well-lit to avoid mistakes and accidents.
Tool Safety
- Read Instructions: Familiarize yourself with the operating instructions for each tool. This includes understanding safety features and proper usage techniques.
- Inspect Tools: Before using any tool, inspect it for damage or defects. Ensure that blades are sharp, batteries are charged, and all components are secure.
- Proper Handling: Use tools as intended and never force them. Keep hands away from moving parts and always use the correct tool for the job.
Handling Materials
- Secure Materials: Use clamps to hold materials in place while cutting or drilling. This prevents movement and ensures precise work.
- Avoid Overreach: Position yourself comfortably and avoid overreaching while using tools. This reduces the risk of losing balance or control.
- Dispose of Waste Properly: Collect sawdust, wood chips, and other debris in a designated container. Dispose of them safely to prevent fire hazards.
Working with Wood Glue and Finishes
- Use Sparingly: Apply wood glue in a well-ventilated area and avoid excessive use. Follow the manufacturer’s instructions for drying times and handling.
- Avoid Skin Contact: Wear gloves when applying glue or finishes to avoid skin irritation. If contact occurs, wash thoroughly with soap and water.
- Store Safely: Keep wood glue and finishes out of reach of children and pets. Store them in a cool, dry place, away from direct sunlight.
Emergency Preparedness
- First Aid Kit: Have a first aid kit readily available in your workspace. Ensure it contains bandages, antiseptic wipes, and other essential supplies.
- Emergency Contacts: Know the emergency contact numbers for your area. Keep a phone nearby in case you need to call for assistance.
- Fire Safety: Have a fire extinguisher nearby, especially if you’re working with flammable materials or tools that generate heat.
By adhering to these safety precautions, you can minimize the risk of accidents and injuries. Safety should always be your top priority, ensuring a smooth and successful repair process. In the next section, we will dive into the step-by-step guide to fixing a broken bed rail.
3. Step-by-Step Guide to Fixing a Broken Bed Rail
Now that you have gathered your tools and materials and ensured a safe working environment, it’s time to dive into the repair process. Follow these detailed steps to fix your broken bed rail effectively.
Step 1: Assess the Damage
The first step in fixing a broken bed rail is to thoroughly assess the damage. Understanding the extent of the problem will help you decide the best course of action.
- Inspect the Bed Rail: Carefully examine the entire length of the bed rail. Look for cracks, splits, or breaks. Determine if the damage is localized to one area or if multiple sections are affected.
- Check for Stability: Gently push and pull on the bed rail to see if it wobbles or moves. This can help identify any hidden weak points or areas that need additional reinforcement.
- Evaluate the Frame: Ensure that the bed frame itself is still in good condition. Sometimes, issues with the frame can contribute to or exacerbate bed rail damage.
Tips for Accurate Assessment:
- Use a flashlight to see any hidden cracks or splits.
- Take notes or pictures of the damaged areas to reference later.
- If the damage is severe, consider whether it might be more practical to replace the rail entirely.
By thoroughly assessing the damage, you can make an informed decision on how to proceed with the repair.
Step 2: Remove the Broken Bed Rail
Removing the broken bed rail is crucial to making room for the new replacement piece. This step must be done carefully to avoid further damage to the bed frame.
- Unscrew the Rail: Use a screwdriver or drill to remove any screws or bolts securing the bed rail to the frame. Keep these screws safe as you may need them to attach the new rail.
- Detach the Rail: Gently wiggle the bed rail to detach it from the frame. If it’s glued in place, use a flathead screwdriver to carefully pry it loose.
- Clean the Area: Once the rail is removed, clean the area of any leftover glue, splinters, or debris. This ensures a smooth surface for attaching the new rail.
Tips for Safe Removal:
- If the rail is heavily glued, apply a small amount of heat with a hairdryer to soften the glue before prying it loose.
- Work slowly to avoid damaging the frame or the surrounding areas.
- Label or organize screws and hardware to make reassembly easier.
By removing the broken bed rail with care, you set the stage for a smooth and effective replacement process.
Step 3: Measure and Cut Replacement Wood
Accurate measurements are critical to ensure the replacement wood fits perfectly into the bed frame. Here’s how to get it right.
- Measure the Old Rail: Use a measuring tape to determine the length, width, and thickness of the broken bed rail. If the rail is severely damaged, measure the corresponding rail on the other side of the bed.
- Mark the Replacement Wood: Transfer the measurements to your replacement wood. Use a pencil to mark where cuts will be made.
- Cut the Wood: Using a handsaw or circular saw, carefully cut the replacement wood to the marked dimensions. Ensure the cuts are straight and smooth.
Tips for Accurate Cutting:
- Double-check your measurements before cutting to avoid mistakes.
- Use clamps to secure the wood while cutting to ensure precision.
- Sand the edges of the cut wood to remove any roughness.
With the replacement wood accurately measured and cut, you’re ready to move on to the next step of the repair process.
Step 4: Sand the Replacement Wood
Sanding the replacement wood is crucial for ensuring a smooth finish and a good fit within the bed frame.
- Choose the Right Sandpaper: Use medium-grit sandpaper (around 120-grit) for initial sanding. This will remove any rough edges or splinters from the cut wood.
- Sand the Edges: Focus on the edges and corners of the wood piece. Sand evenly to avoid creating dips or uneven surfaces.
- Smooth the Surface: After the initial sanding, switch to fine-grit sandpaper (around 220-grit) to smooth the surface. This prepares the wood for any finishing touches and ensures it fits snugly into the bed frame.
Tips for Effective Sanding:
- Sand in the direction of the wood grain to prevent scratches.
- Use a sanding block for more control and even pressure.
- Wipe the wood with a damp cloth after sanding to remove dust and check for smoothness.
By taking the time to properly sand the replacement wood, you ensure a seamless fit and a professional-looking repair.
Step 5: Attach the Replacement Rail
With the replacement wood ready, it’s time to attach it to the bed frame. This step requires precision to ensure a secure and stable connection.
- Apply Wood Glue: Spread a thin, even layer of wood glue along the edges of the replacement rail that will contact the bed frame.
- Position the Rail: Carefully position the replacement rail in the bed frame, ensuring it aligns perfectly with the frame’s structure.
- Secure with Clamps: Use clamps to hold the rail in place while the glue dries. Follow the manufacturer’s instructions for drying time, usually around 24 hours.
Tips for Effective Attachment:
- Avoid using too much glue, which can cause a mess and weaken the bond.
- Check the alignment of the rail multiple times before the glue sets.
- Wipe off any excess glue immediately with a damp cloth.
Attaching the replacement rail correctly is key to restoring the bed’s stability and ensuring a lasting repair.
Step 6: Reinforce the Joint
Reinforcing the joint between the replacement rail and the bed frame adds extra stability and strength to the repair.
- Choose the Right Brackets: Select metal brackets that match the dimensions of your bed frame and rail. Ensure they are strong enough to support the weight.
- Drill Pilot Holes: Mark where the brackets will be placed and drill pilot holes to avoid splitting the wood.
- Attach the Brackets: Secure the brackets with wood screws, ensuring they are tight and flush with the rail and frame.
Tips for Reinforcement:
- Use at least two brackets for each side of the rail for optimal support.
- Double-check the alignment of the brackets before drilling.
- Tighten screws firmly without over-tightening to prevent stripping.
By reinforcing the joint, you add durability and longevity to your repair, ensuring the bed rail remains secure.
Step 7: Finish the Repair
Finishing touches are important for both aesthetic and practical reasons, ensuring the repaired rail blends seamlessly with the rest of the bed frame.
- Sand the Joint Area: Lightly sand the joint area to smooth any rough spots and ensure a seamless transition between the new rail and the frame.
- Apply Wood Finish: If desired, apply a wood finish that matches the color and texture of your bed frame. Follow the manufacturer’s instructions for application and drying times.
- Inspect the Repair: Once the finish is dry, inspect the repair for any imperfections. Sand or reapply finish as needed.
Tips for a Professional Finish:
- Use a brush or cloth to apply the finish evenly.
- Apply multiple coats if necessary for a consistent look.
- Allow ample drying time between coats to avoid a sticky finish.
A well-finished repair not only looks good but also enhances the durability and longevity of the bed rail.
Step 8: Test the Repair
Testing the repair is crucial to ensure the bed rail is stable and secure before regular use.
- Apply Pressure: Gently apply pressure to the repaired area to test its stability. Ensure there is no wobbling or movement.
- Check the Attachment: Inspect the screws, brackets, and glue joints to ensure everything is securely in place.
- Test the Bed: Once satisfied with the initial tests, reassemble the bed and test it with a mattress and regular use. Look for any signs of weakness or instability.
Tips for Effective Testing:
- Apply pressure evenly across the rail to test its overall strength.
- Listen for any creaking or cracking sounds that may indicate a weak spot.
- Make adjustments or reinforcements as needed based on the test results.
By thoroughly testing the repair, you ensure the bed rail is safe and ready for regular use, giving you peace of mind.
4. Troubleshooting Common Issues
Even with careful planning and execution, you might encounter some common issues during or after repairing your bed rail. Understanding how to troubleshoot these problems can save you time and ensure a successful repair. Here’s a guide to addressing some typical challenges.
Loose Rail
A loose rail can compromise the stability of the bed. Here’s how to address it:
- Check Screws and Bolts: Ensure all screws and bolts are tightly secured. If any are loose, tighten them using a screwdriver or drill.
- Add Additional Screws: If the rail remains loose, consider adding additional screws. Drill pilot holes first to prevent the wood from splitting.
- Reinforce with Brackets: Metal brackets can provide extra support. Attach them at the joint where the rail meets the frame, ensuring they are tight and flush.
Tips for Securing a Loose Rail:
- Use wood glue along with screws for added strength.
- Regularly check and tighten screws as part of ongoing maintenance.
Uneven Surface
An uneven surface can affect the mattress support and comfort. Here’s how to fix it:
- Inspect the Rail: Check the rail for any uneven cuts or warping. Use a level to determine if the rail is straight.
- Sand the Surface: Sand the uneven areas with medium-grit sandpaper to level them out. Follow up with fine-grit sandpaper for a smooth finish.
- Replace the Rail: If the rail is severely warped or uneven, it may be best to replace it entirely with a new piece of wood.
Tips for Ensuring an Even Surface:
- Take your time with sanding, ensuring you don’t remove too much material.
- Regularly check for warping or unevenness as part of routine maintenance.
Weak Joint
A weak joint can lead to instability and further damage. Here’s how to strengthen it:
- Reapply Wood Glue: If the joint feels weak, reapply wood glue to reinforce the bond. Clamp the joint and allow it to dry completely.
- Use Larger Screws: Larger screws can provide more holding power. Ensure they are the appropriate length to avoid splitting the wood.
- Add More Brackets: Additional metal brackets can further strengthen the joint. Place them strategically to distribute the load evenly.
Tips for Strengthening a Weak Joint:
- Ensure all components are clean and free of old glue before reapplying.
- Use clamps to hold the joint securely while the glue dries.
Splitting Wood
Splitting wood can weaken the bed rail and compromise its integrity. Here’s how to prevent and address it:
- Drill Pilot Holes: Always drill pilot holes before inserting screws to prevent the wood from splitting.
- Use Proper Screws: Choose screws designed for wood, such as self-tapping wood screws. Avoid over-tightening, which can cause splits.
- Repair Splits Immediately: If you notice any splits, fill them with wood glue and clamp until dry. For larger splits, consider using wood filler or replacing the affected section.
Tips for Preventing Wood Splits:
- Avoid using excessively long screws.
- Handle the wood gently during the repair process to prevent stress fractures.
Misalignment
Misalignment can cause the bed to be uneven or unstable. Here’s how to correct it:
- Check Measurements: Double-check all measurements before cutting and attaching the replacement rail. Ensure it matches the original dimensions.
- Align Components Properly: During assembly, ensure all components are aligned correctly. Use a level and measuring tape to verify alignment.
- Make Adjustments: If misalignment occurs, carefully detach the components and realign them. Small adjustments can make a significant difference.
Tips for Maintaining Alignment:
- Regularly check the alignment as part of routine maintenance.
- Use guides or jigs to assist with accurate cuts and assembly.
By troubleshooting these common issues effectively, you can ensure a successful and durable repair. In the next section, we will discuss preventative maintenance tips to help you avoid future bed rail damage.
Also Read: How to Fix a Broken Bedside Rail?
5. Preventative Maintenance Tips
Preventative maintenance is key to extending the lifespan of your bed rail and avoiding future repairs. By regularly inspecting and maintaining your bed, you can ensure it remains sturdy and safe for years to come. Here are some essential tips for maintaining your bed rail.
Regular Inspections
- Monthly Checks: Make it a habit to inspect your bed rail and frame at least once a month. Look for any signs of wear, cracks, or instability.
- Check Joints and Connections: Pay close attention to the joints and connections where the bed rail attaches to the frame. Ensure screws, bolts, and brackets are tight and secure.
- Monitor for Warping: Wood can warp over time due to changes in humidity and temperature. Check for any signs of warping or bending in the bed rail.
Tips for Effective Inspections:
- Use a flashlight to inspect hard-to-see areas.
- Keep a record of your inspections to track any changes or issues over time.
Proper Weight Distribution
- Avoid Overloading: Excessive weight can stress the bed rail and frame, leading to damage. Ensure the weight is evenly distributed across the bed.
- Use Supportive Mattress: A supportive mattress can help distribute weight evenly. Consider a high-quality mattress that provides adequate support and reduces pressure on the bed rail.
- Additional Support Slats: Adding extra support slats or a bunkie board can help distribute weight more evenly and reduce stress on the bed rail.
Tips for Maintaining Weight Distribution:
- Rotate your mattress regularly to prevent sagging and uneven wear.
- Avoid standing or jumping on the bed, which can cause sudden stress and damage.
Climate Control
- Manage Humidity Levels: Wood is sensitive to changes in humidity. Keep your bedroom’s humidity levels consistent to prevent the wood from expanding or contracting excessively.
- Avoid Direct Sunlight: Prolonged exposure to direct sunlight can cause wood to fade and weaken. Position your bed away from direct sunlight or use curtains to block harsh light.
- Use a Dehumidifier: In humid climates, a dehumidifier can help control moisture levels and prevent wood from warping.
Tips for Climate Control:
- Use a hygrometer to monitor humidity levels in your bedroom.
- Maintain humidity levels between 30% and 50% for optimal wood preservation.
Tightening Screws and Bolts
- Regular Tightening: Periodically check and tighten all screws and bolts on your bed frame and rail. Loose hardware can lead to instability and damage over time.
- Use Locking Washers: Locking washers can help keep screws and bolts secure. Consider adding them to critical connection points.
- Replace Damaged Hardware: If any screws, bolts, or brackets are damaged or worn, replace them immediately to maintain the bed’s stability.
Tips for Secure Connections:
- Avoid over-tightening screws, which can strip the threads and weaken the connection.
- Use a torque wrench for consistent and accurate tightening.
Cleaning and Care
- Regular Dusting: Dust your bed frame and rail regularly to prevent the buildup of dirt and debris. Use a soft cloth or duster to avoid scratching the wood.
- Avoid Harsh Chemicals: Use mild soap and water or wood-specific cleaners for cleaning. Avoid harsh chemicals that can damage the wood finish.
- Polish the Wood: Periodically polish the wood to maintain its appearance and protect the surface. Use a high-quality wood polish suitable for your bed frame’s finish.
Tips for Effective Cleaning:
- Follow the manufacturer’s recommendations for cleaning and care.
- Test any new cleaning product on a small, inconspicuous area first.
By following these preventative maintenance tips, you can keep your bed rail and frame in excellent condition, reducing the need for future repairs. In the next and final section, we will summarize the key points and conclude our guide on how to fix a broken bed rail.
Conclusion
Fixing a broken bed rail is a straightforward process when you follow the right steps and take necessary safety precautions. Regular inspections, proper weight distribution, climate control, tightening screws and bolts, and careful cleaning can prevent future damage. By maintaining your bed rail, you extend its lifespan and ensure a stable and safe sleeping environment. Remember, addressing issues promptly and performing routine maintenance can save you time and effort in the long run. With these tips and techniques, you can confidently handle bed rail repairs and keep your bed in top condition.
Visit Bedding Expertise for more quality information about bedding topics.
Share this:
- Share on Facebook (Opens in new window) Facebook
- Share on X (Opens in new window) X
- Email a link to a friend (Opens in new window) Email
- Share on LinkedIn (Opens in new window) LinkedIn
- Share on Reddit (Opens in new window) Reddit
- Share on X (Opens in new window) X
- Share on Tumblr (Opens in new window) Tumblr
- Share on Pinterest (Opens in new window) Pinterest
- Share on Pocket (Opens in new window) Pocket
- Share on Telegram (Opens in new window) Telegram
- Share on WhatsApp (Opens in new window) WhatsApp
- Share on Nextdoor (Opens in new window) Nextdoor


Pingback: How To Efficiently Dismantle And Move Your Bed Frame - Bedding Expertise
Pingback: DIY Guide: How To Lower A Bed Frame In 4 Easy Steps - Bedding Expertise